

Let me guess how you got here. You (or your designer) finished a beautiful layout in Figma, and now you need it to exist as an actual website that loads in a browser, on a real domain, that Google can crawl. So you typed “convert Figma to HTML” and started collecting tabs: plugin exporters that spit out messy code, freelancers quoting four figures, developers estimating two weeks. Every option is either fragile, slow, or expensive.
I have taken a lot of Figma files across that gap, and I want to give you the honest version instead of the marketing version. Here is the truth up front: the fastest, most reliable way to get a Figma design onto the web as HTML in 2026 is not to export a folder of .html files at all. It is to rebuild the design in Framer, which then serves your site as clean, live HTML for you. That distinction matters, and I will explain exactly why below so you do not feel tricked by it.
This guide covers what “Figma to HTML” really means, the two ways to bring your Figma work into Framer (paste and plugin), what transfers cleanly versus what you rebuild, how to make the result responsive and SEO-ready, and how to publish it to a live URL today. No fluff, no fake promises about one-click magic.
The quick answer
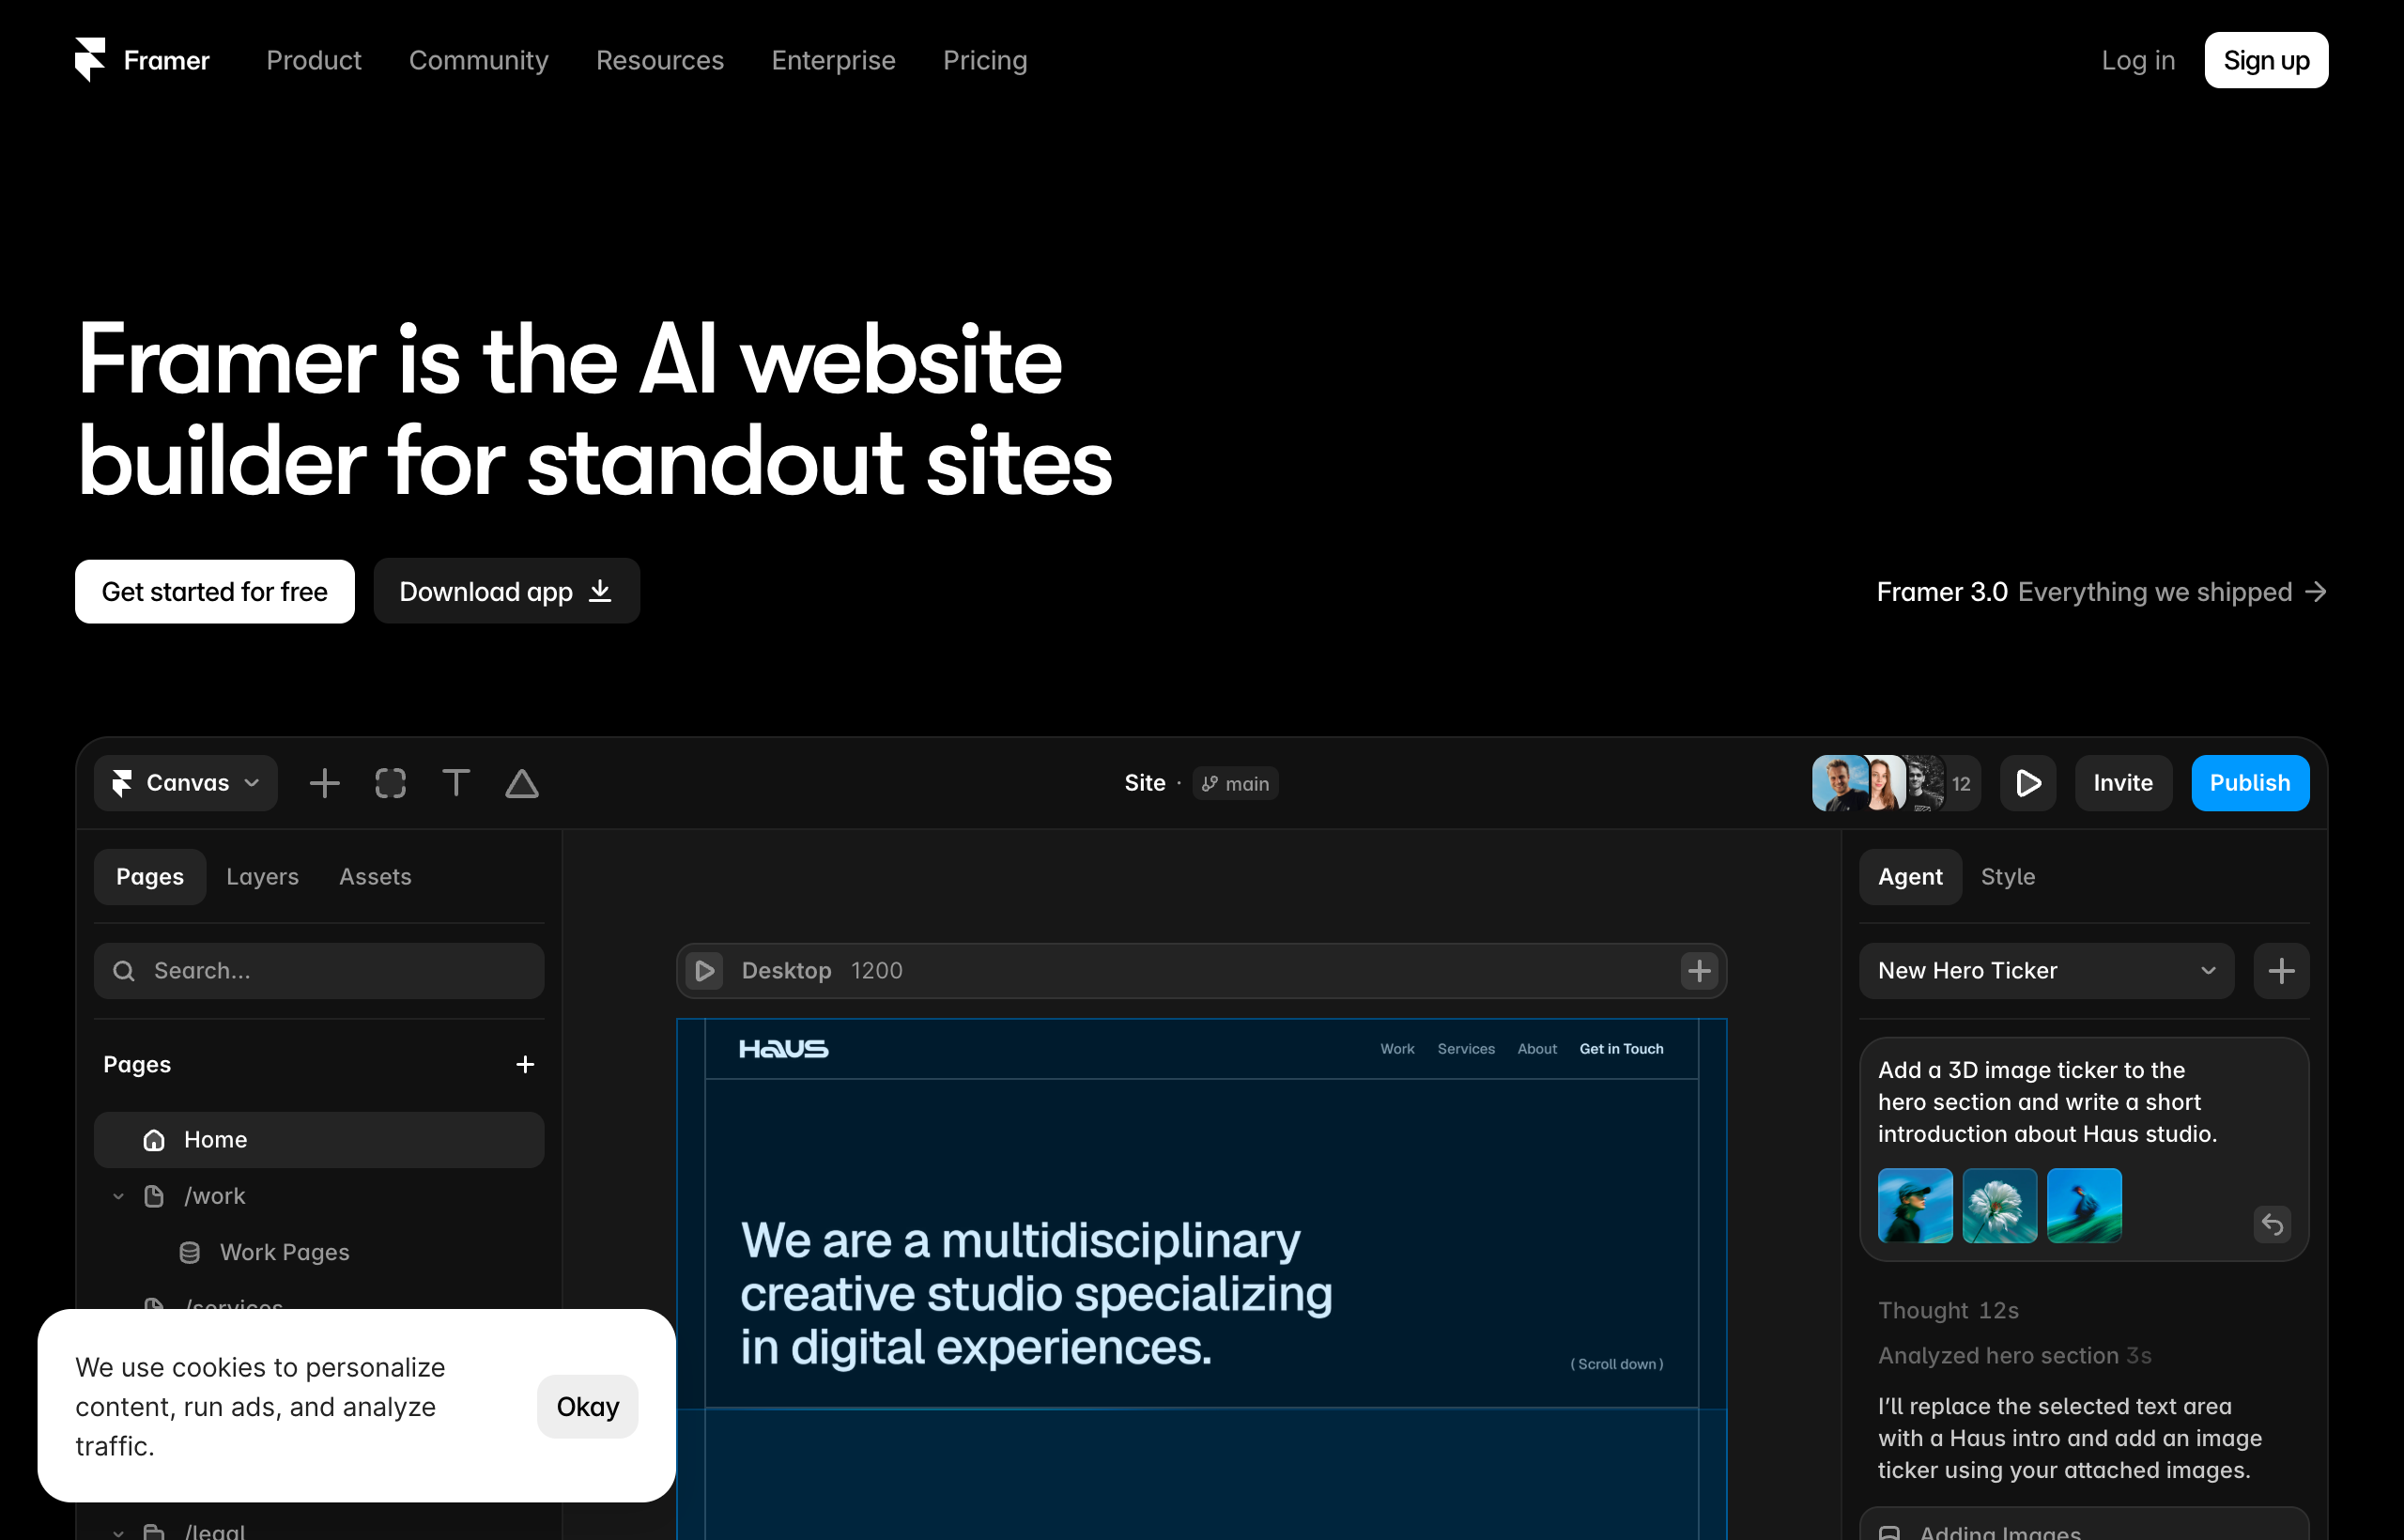
Framer does not hand you a downloadable folder of HTML and CSS files. It does something more useful for most people: it turns your Figma design into a hosted, live website whose underlying code is real, fast, responsive HTML and CSS, served on a global CDN. You bring the design in (by pasting frames directly onto the Framer canvas, or via a Figma-to-Framer plugin), you clean it up into a real responsive layout, you add the interactive pieces Figma cannot express, and you click publish. The output is a working website at a real URL, not a static export you still have to host, wire up, and maintain yourself.
So if your actual goal is “I need this design to be a live website,” Framer is the shortest path. If your goal is literally “I need a ZIP of raw HTML files to hand to a backend developer to embed in a larger app,” that is a different job, and I will be honest about that in the “when this is not the right tool” section near the end.
Before you read another word, feel it for yourself. Open a free Framer canvas and paste a Figma frame onto it right now. The free plan needs no credit card, and thirty seconds of watching your own design land on the canvas as editable elements explains more than any tutorial can.
What “convert Figma to HTML” actually means (and why the naive version disappoints)
Before you pick a method, understand the trap, because it saves you days.
Figma is a design tool. A Figma frame is a picture of a website. It is not a website. It has no responsive rules that a browser understands, no real HTML tags, no hover states, no scroll behavior, no CMS, and no host. When people say “export Figma to HTML,” they usually imagine a button that turns that picture into a working site. That button, in the pure sense, does not exist, and the plugins that claim to be it produce code with three chronic problems:
- Bloated, unmaintainable markup. Pure code exporters translate every Figma layer into a nested
divwith absolute positioning and inline styles. It technically renders, but it is a wall of auto-generated soup that no human wants to edit, and it usually breaks the moment the screen size changes. - No real responsiveness. Figma’s layout is pixel-placed. A raw export pins elements to coordinates, so it looks right at one width and falls apart on a phone. Genuine responsive behavior has to be authored, not guessed.
- No life and no home. Even a clean export is a dead static file. It has no animations, no forms that submit, no blog, no analytics, and nowhere to live. You still have to host it, connect a domain, and maintain it forever.
Framer sidesteps all three by treating your Figma file as a design source, not a code source. It reads your frames, brings the elements onto a real web canvas as editable objects (text stays text, images stay images), and lets you turn them into a proper responsive, interactive, hosted site. The HTML is produced correctly by Framer’s engine at publish time, which is exactly the part the naive exporters get wrong.
Keep that framing in mind for the rest of this guide: you are not exporting code, you are moving a design into a builder that outputs the code for you.
Before you start: prerequisites and a five-minute prep pass
You will move faster if you tidy the Figma file first. This prep is the single biggest predictor of a smooth conversion.
- A finished Figma frame (or a few). Ideally a desktop layout you are happy with. If you also have a mobile frame, keep it open as a reference.
- A free Framer account. You can do the entire build, including bringing in Figma, on the free plan, and only pay when you are ready for a custom domain.
- Your real assets. Logo, images, and icons exported from Figma at good resolution, and your brand fonts and hex colors written down. You will re-apply some of these by hand, and having them ready avoids stop-and-search.
- A clean-ish Figma file. Spend five minutes here. Name your layers, use auto layout on your sections where you can, flatten decorative junk into single images, and delete hidden or abandoned layers. A messy file transfers as a messy canvas. A tidy file transfers as a tidy head start.
That is it. Now let us actually move the design.
Method 1: Copy from Figma, paste into Framer (the fast path)
This is the method I reach for most, because it is genuinely close to instant and it keeps your text editable. Framer is built to accept Figma frames pasted straight onto the canvas.
Step 1: Select the frame in Figma. In your Figma file, click the frame or the group of layers you want to move. Start with one section, like your hero, rather than the whole page, so you can see how the transfer behaves before you commit the entire design.
Step 2: Copy it. Copy with the standard shortcut. You are copying the actual layers, not a flat screenshot.
Step 3: Paste onto the Framer canvas. Open a blank Framer project, click on the canvas, and paste. Your Figma elements appear as Framer elements. This is the moment that surprises people: text layers arrive as real, editable text, not as a baked image. You can click a headline and retype it. Images come in as images. Shapes and frames come in as layout containers.
Step 4: Repeat section by section. Bring over your hero, then your features, then testimonials, then footer, one block at a time. Working in chunks keeps everything legible and lets you fix each section before moving on, instead of drowning in one giant paste.
Step 5: Regroup into real layout containers. This is the important part that separates a real site from a fragile one. Figma positions things absolutely. On the web you want elements stacked in flexible containers so they can breathe and reflow. In Framer these are called Stacks. Wrap your pasted elements in Stacks so a row of three feature cards is an actual row that will wrap on mobile, not three boxes pinned to fixed coordinates. Spend your time here. This one habit is the difference between a site that survives a phone screen and one that shatters on it.
Paste is ideal when your design is mostly clean sections and you want speed. Its one weakness is very complex, deeply nested files, where a lot of absolute positioning comes across and you spend real time re-containering. For those, the plugin can help.
Method 2: The Figma-to-Framer plugin (the structured path)
Framer also supports bringing Figma work in through a plugin workflow, which some people prefer for larger or more structured files. The exact steps and plugin availability can shift over time, so treat this as the shape of the process rather than fixed button names [VERIFY current plugin in the Framer and Figma marketplaces].
The general flow is:
Step 1: Install the Figma-to-Framer bridge. Add the relevant plugin from Figma’s plugin directory (or use Framer’s own import entry point where offered). This connects the two tools so your frames can be sent across with their structure intact.
Step 2: Prepare frames as the plugin expects. Plugins reward clean auto-layout structure even more than paste does. Frames built with auto layout, sensible naming, and grouped sections come across far more usable than free-floating pixel art.
Step 3: Import and review. Run the import, then inspect what landed. Just like with paste, you are not done when the pixels look right. You are done when the structure is right: elements in Stacks, text as text, and sections that will reflow.
Which method should you use? For most single landing pages and marketing sites, paste is faster and perfectly good. For larger multi-section designs built with disciplined auto layout, the plugin can preserve more structure and save re-work. Either way, the real labor is the same and it happens after the import: turning a pixel-perfect picture into a responsive, living site.
Stuck deciding between the two? Stop optimizing and start moving. Spin up a free Framer project and paste your hero section in. You will know within five minutes whether paste is clean enough for your file, and that beats an hour of reading about it.
What transfers cleanly, and what you rebuild by hand
Here is the honest inventory, so nothing surprises you halfway through. Set expectations correctly and the whole process feels smooth instead of frustrating.
Transfers well (little to no rework):
– Text content and copy. Your words come across as editable text.
– Images and logos. They land as image elements you can swap or resize.
– Basic layout and visual hierarchy. The overall look, order, and structure of sections carry over.
– Colors and simple shapes. Fills, backgrounds, and basic geometry come across.
Needs your attention (rebuild or re-author):
– Fonts. Re-apply your typefaces in Framer and confirm they are web fonts your site can serve. A font that lived only on your machine in Figma will not magically travel to the web.
– Responsiveness. This is the big one. Figma’s fixed positions become Framer Stacks and responsive breakpoints that you set up. Framer gives you desktop, tablet, and phone breakpoints; you tune each so the design holds at every size. Budget most of your rebuild time here.
– Interactions and motion. Hover states, scroll animations, appear-on-scroll effects, and page transitions do not exist in a static Figma frame. You add them in Framer, which happens to be excellent at exactly this, so your final site feels more alive than the mockup did.
– Anything dynamic. Forms that actually submit, a blog powered by the CMS, navigation links, and buttons that go somewhere are all wired up in Framer. Figma only drew them.
The mental model that keeps you sane: Figma gave you the look. Framer gives you the behavior, the responsiveness, and the home. You are not fixing a broken export, you are finishing a design that was never a website yet.
Make it responsive: the step most exports skip
A design that looks perfect on your 27-inch monitor and collapses on a phone is not a finished website, it is a liability, because most of your visitors are on phones. This is precisely where raw HTML exporters fail and where doing it in Framer pays off.
Framer gives you three breakpoints out of the box: desktop, tablet, and phone. Here is how to use them without losing your mind:
- Get the desktop layout right first, built from Stacks rather than absolute positions. A layout made of flexible containers is one that adapts gracefully; a layout of pinned coordinates is one you will fight at every screen size.
- Switch to the tablet breakpoint and fix what breaks. Usually this means letting multi-column rows relax or resizing oversized headings.
- Switch to the phone breakpoint and get ruthless. Stack columns vertically, shrink hero text, enlarge tap targets for buttons, and make sure nothing overflows the screen edge. Thumbs are not mouse cursors; padding and font size that felt fine on desktop often need to grow, not shrink, for touch.
- Preview on a real phone before you call it done. Publish to the free subdomain and open it on your actual device. The emulator is a good draft; your hand holding a real phone is the truth.
Because Stacks reflow by design, most of this is nudging rather than rebuilding. That is the payoff for containering things properly back in Method 1: responsiveness becomes tuning, not surgery.
Add the things Figma could never do
Once the static design is faithfully rebuilt and responsive, you get to add the parts that make it a real website rather than a fancy picture. This is genuinely the fun part, and it is where a Framer site starts to outclass the original mockup.
- Motion and scroll effects. Framer ships with beautiful built-in animation: appear-on-scroll, parallax, hover transitions, and smooth page transitions, mostly a matter of selecting an element and choosing an effect. A little restraint here makes a site feel premium and expensive. Overloading it makes the page slow, so choose a few tasteful moments, not fireworks on every element.
- A CMS-powered blog or collection. If your Figma design included a blog, a case-study library, or a listing, Framer’s CMS turns one designed template into many dynamic pages fed by a collection. You design the card once; the content fills it.
- Working forms. Turn the contact form you drew into one that actually captures submissions.
- Real navigation and links. Wire your menu and buttons to real destinations and anchor links so the site is navigable, not decorative.
- SEO settings. Set your page title, meta description, Open Graph image, and image alt text so the site can be found and shared cleanly. Figma had none of this; a real website needs all of it.
This is the strongest argument for the “rebuild in Framer” approach over a raw code export. An exported HTML file is frozen. A Framer site is a living thing you can extend, animate, and grow, without opening a code editor.
Publish it: from canvas to a live URL
You have the design in, responsive, and interactive. Time to make it real. This part is refreshingly short, which is the whole point of a hosted builder.
Step 1: Preview. Use Framer’s preview to click through the site as a visitor would. Check every breakpoint and every link one more time.
Step 2: Publish to the free subdomain first. Framer’s free plan publishes instantly to a framer.website subdomain. Do this immediately so you have a live link to test on real devices and share for feedback. There is no build step to babysit and no server to configure; you click publish and it is live on a global CDN.
Step 3: Connect a custom domain when you are ready. To use your own domain and drop the Framer badge, you move up to a paid plan. On Framer’s live pricing (yearly billing, captured July 2026), the Basic plan is $10 per month and includes a free custom domain, and the Pro plan is $30 per month and adds a staging environment, branching with previews, site redirects, and more CMS collections. Point your domain, publish again, and your Figma design is now a real website at your real address.
Step 4: Republish anytime. Every future edit is the same one-click publish. No exporting, no re-uploading files, no redeploying. That maintenance simplicity is exactly what a static HTML export costs you forever and a hosted builder gives you free.
Figma-to-HTML options compared
To keep you honest with yourself, here is how the realistic routes stack up. No route is magic; pick the one that matches your actual goal.
| Approach | What you get | Responsive? | Hosted/live? | Best for |
|---|---|---|---|---|
| Raw code-export plugin | A folder of auto-generated HTML/CSS | Usually no | No, you host it | Devs who will heavily rewrite the code anyway |
| Hire a developer | Custom hand-coded site | Yes, if scoped | You arrange hosting | Complex apps, big budgets, long timelines |
| Rebuild in Framer (paste/plugin) | A live, editable, hosted website | Yes, you author it | Yes, one-click | Marketing sites, portfolios, landing pages, most people |
| Generic website builder | A live site, but design fidelity drops | Yes | Yes | Simple sites where the exact design is flexible |
For the overwhelming majority of people converting a Figma design, the third row is the answer. It preserves your design intent, gives you responsiveness and interactivity that a code export cannot, and it lives on the web the moment you click publish.
Troubleshooting the common snags
A few issues come up again and again. Here is how to clear them fast.
- “My layout looks fine on desktop but breaks on mobile.” You pasted with absolute positions and never re-containered. Go back, wrap elements in Stacks, then tune the tablet and phone breakpoints. This fixes the vast majority of responsive pain.
- “My fonts changed after import.” Your Figma font was a local or non-web font. Re-select a web-available version of your typeface in Framer so the site can serve it to every visitor.
- “The design came in as one flat image.” You copied a flattened or rasterized layer, or exported a PNG instead of copying the live frame. Re-copy the actual editable frame from Figma, not an image of it.
- “Everything is overlapping after paste.” Complex nested absolute positioning transferred literally. Rebuild that section from Stacks rather than nudging pixels; it is faster than fighting the coordinates.
- “It looks right but feels dead.” That is expected. Static design transfers; behavior does not. Add your hover states, scroll effects, and links in Framer. The mockup was never supposed to move on its own.
Best practices that save you hours
- Design in Figma with auto layout from the start. Auto-layout frames transfer into Framer Stacks far more cleanly than pixel-pinned art. If you control the Figma file, this single habit is the highest-leverage thing you can do.
- Work section by section, not all at once. Bring in the hero, finish it, then the next. It keeps the canvas legible and the errors small.
- Rebuild structure, do not just move pixels. The goal is a responsive site, not a pixel-perfect frozen snapshot. Containers over coordinates, always.
- Publish early and often. Get a live link on the free subdomain on day one and test on real devices continuously. Do not save publishing for the end.
- Keep your brand kit handy. Fonts and hex codes written down means you re-apply them in seconds instead of hunting through the Figma file.
When Framer is not the right tool for this
I promised honesty, so here it is. Rebuilding a Figma design in Framer is the right move for marketing sites, landing pages, portfolios, small-business sites, and most content sites. It is not the right move in a few cases:
- You genuinely need a raw HTML/CSS/JS codebase to embed inside a larger custom application, hand to a backend team, or version-control in a repo. Framer gives you a hosted site, not a source folder you own and self-host. If that is a hard requirement, you want a developer or a true code-export workflow, and you should accept the cost and cleanup that comes with it.
- You are building a complex web application with heavy custom logic, not a website. That is software engineering, not design-to-web, and no builder replaces it.
- You require self-hosting on your own infrastructure for compliance or control reasons. A hosted builder, by definition, hosts it for you.
For everyone else, and that is most people who search “Figma to HTML,” the fact that Framer hosts and serves the HTML for you is a feature, not a limitation. It is the part you were dreading, done for you.
Frequently asked questions
Can Framer export my site as raw HTML files? No, and that is the honest catch. Framer does not give you a downloadable folder of HTML and CSS. Instead it serves your site as real, fast HTML from its own hosting when you publish. For the great majority of people, a live hosted site is what they actually wanted; a raw export is only necessary if you must self-host or embed the code elsewhere.
Does my Figma text stay editable after importing to Framer? Yes. This is one of the best parts. When you paste or import a Figma frame, text layers arrive as editable text, not baked-in images, so you can click a headline and retype it in Framer.
Will my Figma design be pixel-perfect on the live site? The static look transfers faithfully, but you should think in terms of “faithful and responsive” rather than “frozen and pixel-perfect.” Figma frames are fixed-width pictures; a real website has to flex across desktop, tablet, and phone. You will re-author the responsiveness in Framer, and the result adapts to every screen instead of matching one width exactly.
Is it free to convert a Figma design in Framer? You can do the entire build, including bringing in your Figma design and publishing to a free framer.website subdomain, on Framer’s free plan with no credit card. You only pay when you want a custom domain, starting at $10 per month on the Basic plan (yearly billing, captured July 2026).
Paste or plugin: which is better? For a typical single page or marketing site, copy-paste is faster and perfectly clean. For larger, well-structured multi-section files built with disciplined auto layout, the plugin route can preserve more structure. Either way, the real work of making it responsive and interactive happens after the import.
How long does the whole conversion take? For a clean single-page design, a confident beginner can go from Figma to a published, responsive Framer site in an afternoon. A larger multi-section site with a blog and forms is more like a couple of focused days. The tidier your Figma file, the faster every part of it goes.
Do the animations from my Figma prototype come across? No. Figma prototype interactions do not transfer as working web animations. The upside is that Framer’s built-in motion is stronger than Figma prototyping, so you rebuild them better than they were, with real scroll effects, hover states, and page transitions.
What about SEO? A raw Figma export has zero SEO built in. In Framer you set page titles, meta descriptions, Open Graph images, and alt text, and the published site is fast, semantic, and responsive, which is exactly what search engines reward. This is another reason the “rebuild in Framer” route beats a static export.
The bottom line
If you came here wanting a button that turns a Figma frame into a folder of HTML files, I hope I saved you a frustrating week: that button does not really exist, and the plugins that pretend to be it produce bloated, non-responsive code you would have to fix anyway. The workflow that actually works in 2026 is to bring your Figma design into Framer by paste or plugin, rebuild it into a responsive, interactive layout using Stacks and breakpoints, add the motion, forms, CMS, and SEO that a static design never had, and publish it to a live URL in a click. The HTML gets produced correctly, and hosted, and served, all for you.
Your design deserves to be a real, living website, not a dead export sitting on your desktop. The fastest, least painful way to get it there is to stop hunting for the perfect exporter and start rebuilding it in the tool that outputs the web for you.
Your Figma design is ready. Your website is a paste away. Start your free Framer site, drop your Figma frame onto the canvas, and publish a real page today. No credit card, no code, no export folder to babysit. Just your design, live on the web.
Pricing, plan names, and feature details cited from Framer’s live pricing page, captured July 2026. Tiers and numbers change over time, and Figma-to-Framer plugin availability and steps may shift, so confirm current details on framer.com/pricing and in the Figma and Framer plugin directories before you rely on them.


