

If you are reading this, you have already made most of the decision. You have a Webflow site that works, but every small edit turns into a wrestling match with classes and breakpoints, or the bill crept higher than you expected, or you just want the design freedom and the effortless motion that Framer is known for. Now you want to know the honest, practical part: how do you actually move, what comes with you, what do you have to rebuild, and how do you do it without tanking the Google rankings you worked hard to earn?
I have migrated real sites off Webflow and rebuilt them in Framer, including marketing sites that had to keep their traffic and their form submissions on day one. So this is not a theory piece. It is the playbook I wish someone had handed me the first time, including the parts nobody likes to admit, like the fact that there is no magic import button and you will be recreating pages by hand. The good news is that rebuilding in Framer is dramatically faster than building from scratch, and if you follow the steps below in order, you can move a typical marketing site in a weekend without losing your search traffic.
Let me walk you through it.
The quick answer
Here is the whole migration in one paragraph, so you know what you are signing up for before you read the details.
There is no one-click importer from Webflow to Framer. You do not export a file and load it in. Instead, you rebuild the site in Framer, which sounds worse than it is, because Framer’s speed means recreating a page takes a fraction of the time the original build did. Your content (text, images, copy, blog posts) comes across by hand or by paste, your design intent comes across by rebuilding it on Framer’s canvas (often faster and cleaner than the original), and your SEO equity comes across if, and only if, you keep your URLs matching or set up redirects and copy your meta tags carefully. The migration is a rebuild plus a careful SEO handoff. Do the SEO handoff right and your rankings survive the switch. Skip it and you will watch traffic dip.
If that tradeoff sounds acceptable, and for most people leaving Webflow it is, keep reading for the exact steps.
Before you plan the whole move, feel the tool for yourself. Start a free Framer site and rebuild just your homepage in the next hour. No credit card needed. One real page will tell you more about whether this migration is worth it than any article can.
Why people actually move from Webflow to Framer
Understanding your own reason matters, because it tells you which parts of the migration to obsess over. In my experience the people who switch fall into a few clear groups.
The speed seekers. They love their Webflow site but hate how long every change takes. Webflow exposes the CSS box model, divs, flexbox, grid, and a full class system, which is powerful but slow, and it means small edits can ripple in ways that break other things. Framer’s canvas feels like Figma. You drag, you type directly on the page, you drop in a section, and it looks polished by default. For a marketing team that ships changes weekly, that difference compounds into hours saved.
The design-and-motion crowd. They want scroll effects, page transitions, and appear-on-scroll animation that look expensive without a week of setup. Framer ships that motion nearly for free, where Webflow’s Interactions panel, though very capable, is more manual. If your brand lives on how the site feels, this is often the whole reason.
The pricing-clarity people. Webflow splits its cost into Site plans and Workspace plans, and a real published site frequently needs both, which surprises people at renewal. Framer prices per site, so the math is simpler: one site, one predictable bill.
The handoff-frustrated. They want a non-technical teammate to safely edit the site without touching a fragile class system. Handing a Framer site to a marketer for content edits is genuinely lower risk.
None of these mean Webflow is bad. Webflow remains the stronger tool for large, structurally complex, deeply relational content sites, and if that is what you run, read the honest “when NOT to move” section below before you commit. But if you are in one of the groups above, you are in the right place.
The honest truth: what transfers and what you rebuild
This is the section most migration guides skip, and it is the one that saves you from a nasty surprise on Saturday afternoon. Let me be blunt about it.
What comes across (with a little effort):
- Your text and copy. Every headline, paragraph, and button label can be copied over. Tedious for a big site, trivial for a small one.
- Your images and media. Download them from Webflow (or grab them from the live site) and re-upload into Framer. Take this chance to compress oversized ones.
- Your blog and CMS content. The words and images move; you re-enter them into Framer collections, or paste them in. There is no automatic CMS-to-CMS transfer between the two.
- Your domain. This is the part that fully transfers. You point the same custom domain at Framer when you are ready. Your visitors never know it moved.
- Your brand and design direction. Fonts, colors, spacing, and layout ideas all carry over because you are rebuilding them intentionally.
What you rebuild from scratch:
- The layout and structure. Framer does not read Webflow’s HTML or classes. You recreate each page on the Framer canvas. Because Framer is fast, this is usually quicker than the original build was.
- Animations and interactions. Webflow interactions do not port. You rebuild motion using Framer’s built-in effects, which for most sites is faster and produces cleaner results.
- Forms and integrations. Contact forms, newsletter signups, and any embeds get set up again in Framer. Note down every form and where its submissions go before you start.
- CMS structure. You recreate your collections and their fields in Framer, then bring the content in.
The mental reframe that makes this painless: you are not migrating a website, you are rebuilding a better one with all the content already written. The hard creative work, deciding what the site says and how it should look, is done. You are just reassembling it in a faster tool.
The step-by-step Webflow to Framer migration plan
Here is the exact order I follow. Do not skip the audit at the start or the redirects near the end. Those two steps are what separate a clean migration from a traffic-losing one.
Step 1: Audit and inventory your Webflow site
Before you touch Framer, make a simple list of everything the current site contains. Open your Webflow site and write down, in a spreadsheet or a doc:
- Every page and its URL. This is your master list. You will need these exact URLs later for redirects. Include the homepage, all static pages, and your CMS-generated pages (every blog post URL, every dynamic page).
- Every page’s SEO metadata. For each page, note the title tag, meta description, and Open Graph image. In Webflow these live in each page’s settings and in your CMS collection page settings. Copy them exactly. This is your ranking insurance.
- Every form and where it sends data. Contact form to which inbox, newsletter to which email tool, and so on.
- Every integration and embed. Analytics, chat widgets, booking tools, custom code in the head.
- Your top traffic pages. If you have Google Search Console or analytics, pull your top 10 to 20 pages by traffic. These are the ones you must get perfect. A blog post nobody visits can wait.
This audit takes an hour and it is the highest-leverage hour of the whole project. When something breaks later, this list is how you find it.
Step 2: Set up your Framer project and pick your starting point
Create a new Framer site. Now decide how you will rebuild, and you have two smart paths.
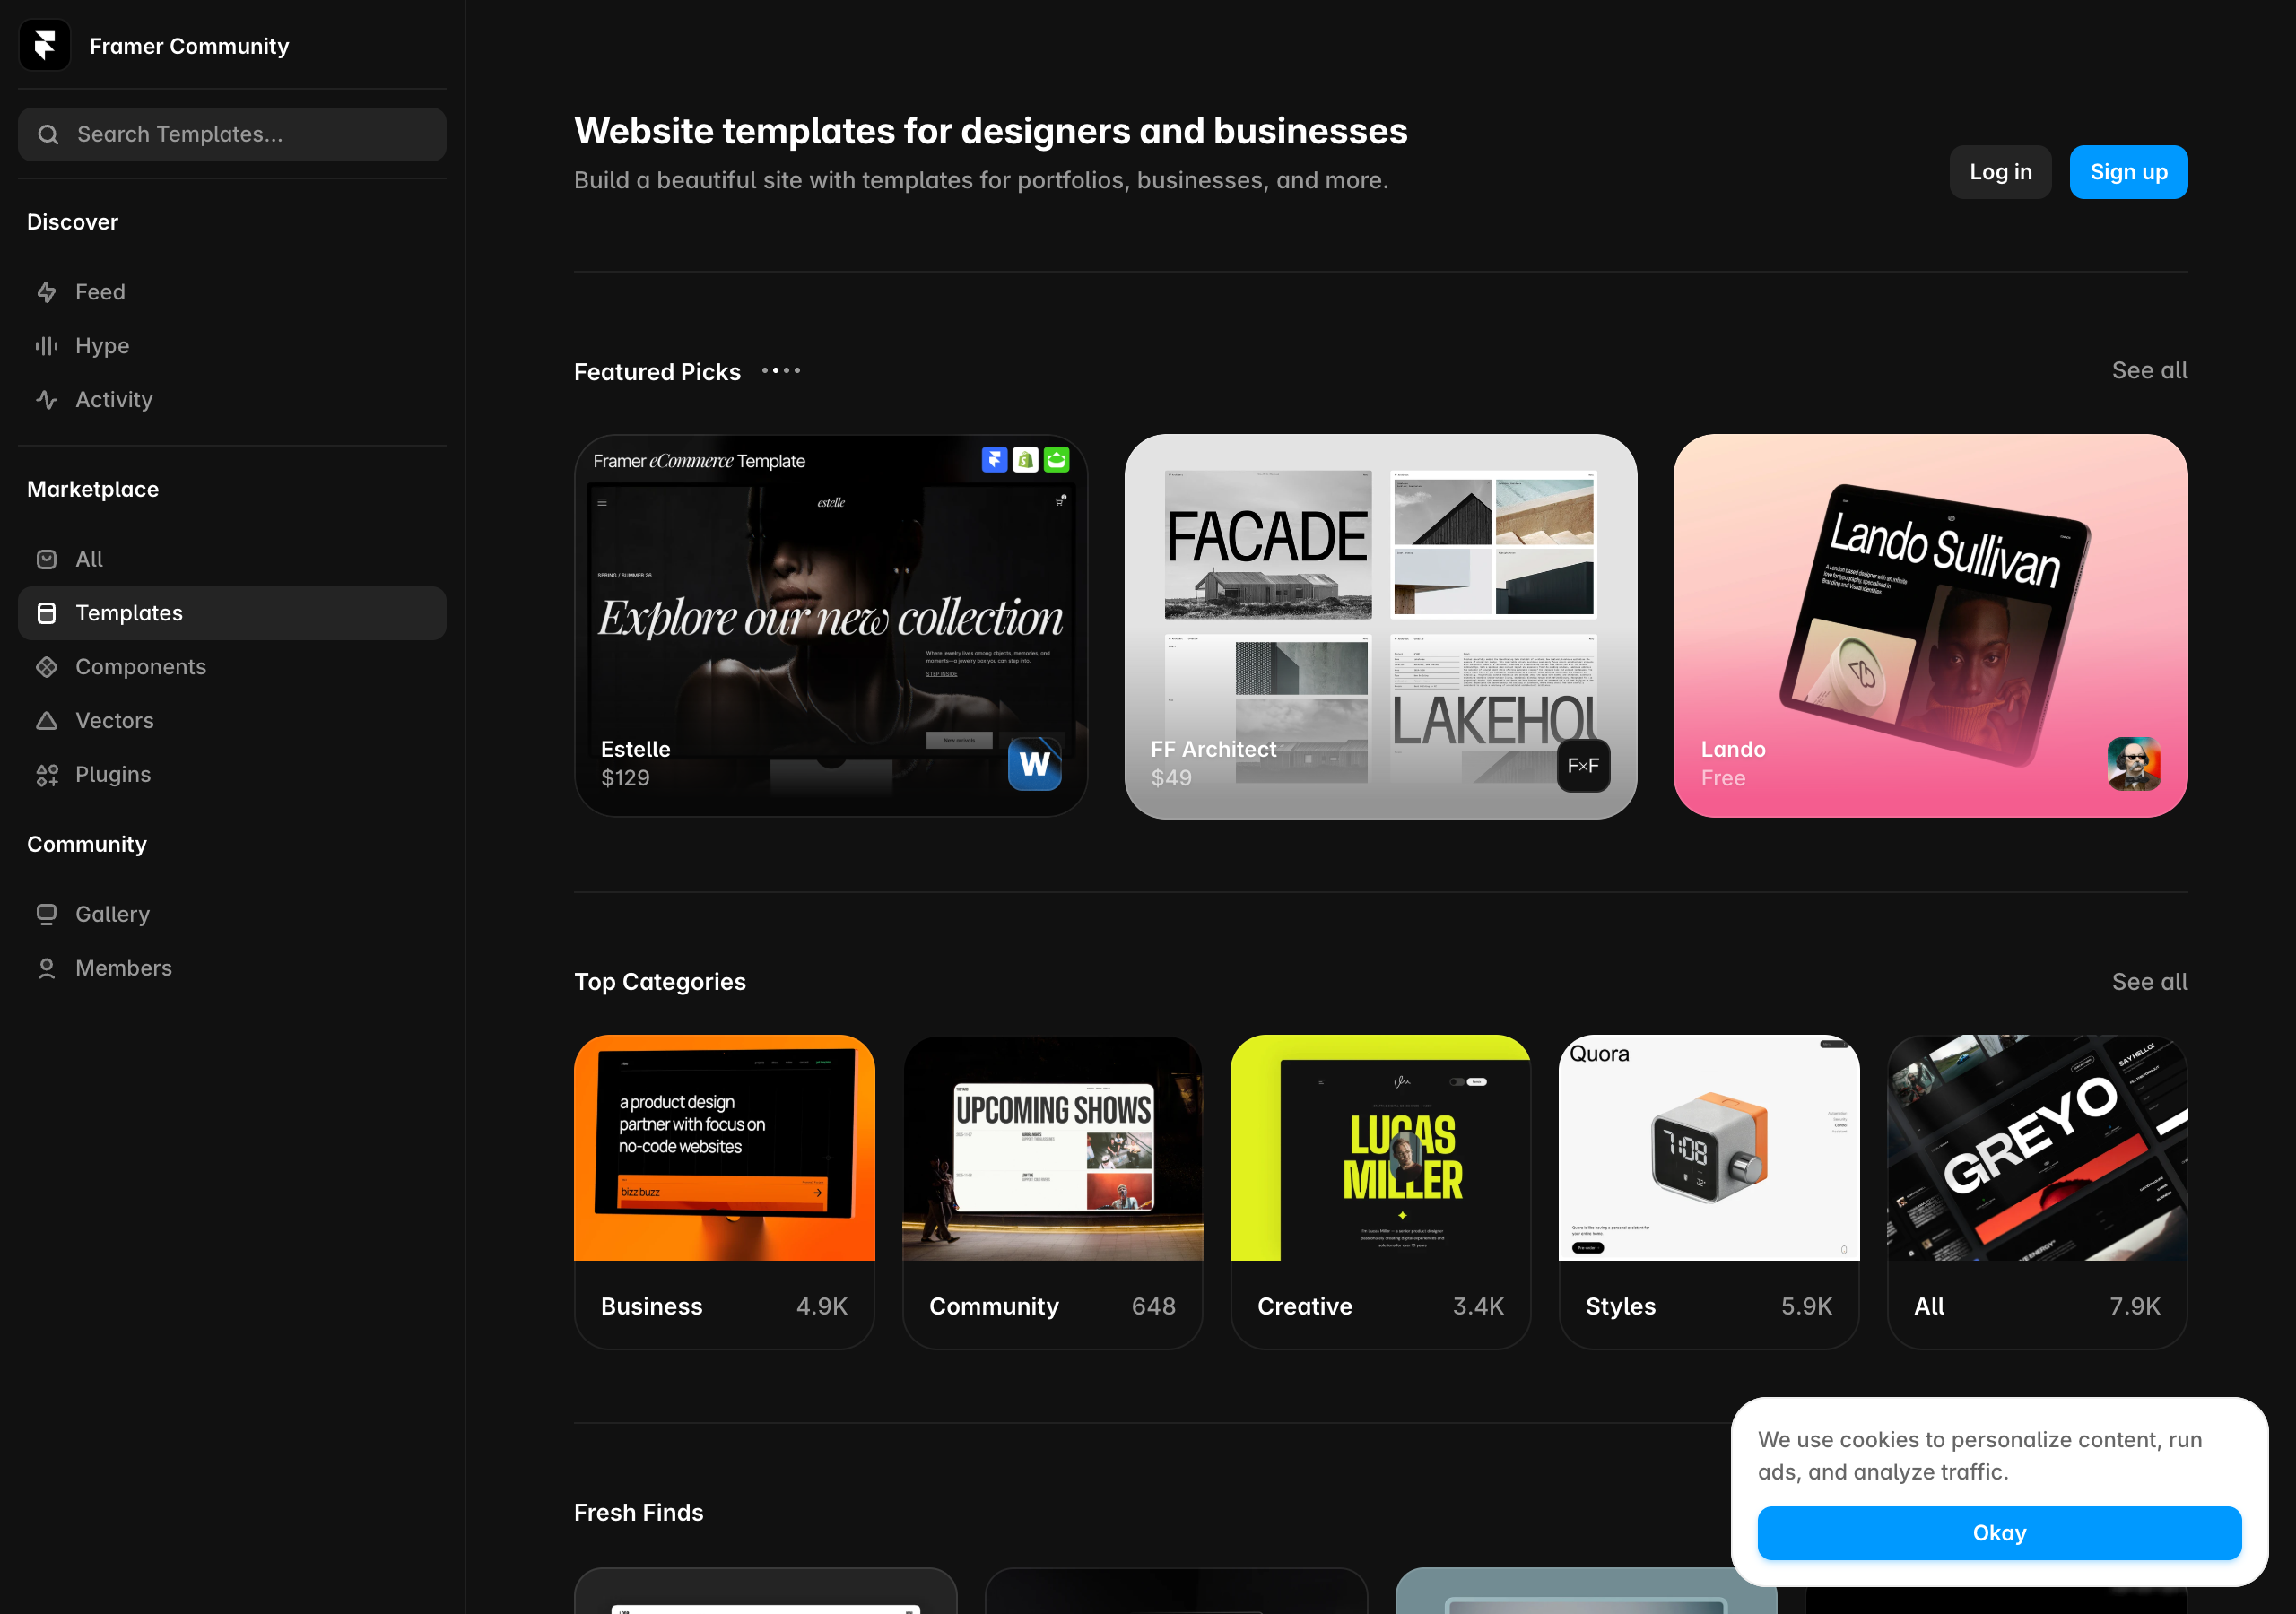
Path A, start from a template. Framer’s Community templates marketplace mixes free and paid options across categories like Business, Creative, and Portfolio. Search your niche, filter visually, and pick a template whose structure is close to your current site. Starting from a well-built template can save hours because the responsive behavior and section patterns are already sound. You then swap in your own content and restyle to match your brand.
Path B, start from a blank canvas and paste from Figma. If your Webflow site started as a Figma design, or you can quickly recreate key sections in Figma, you can paste Figma frames directly onto the Framer canvas and the layers stay editable, so text stays text. This is a genuinely underused shortcut for a pixel-faithful rebuild.
For most marketing sites, I start from a template that is 70 percent right structurally, then bend it to my brand. It is faster than a blank page and cleaner than fighting to match an old layout exactly.
Step 3: Rebuild your pages, starting with the homepage and top traffic pages
Now the main work. Rebuild page by page, in priority order from your audit. Homepage first, then your highest-traffic pages, then the long tail.
For each page:
- Recreate the sections using Framer’s drag-and-drop canvas. Hero, features, testimonials, FAQ, footer, whatever the page contains.
- Paste your copy in from your audit doc. Because the words are already written, this goes fast.
- Drop in your images, and compress anything large as you go so the new site is faster than the old one.
- Set the responsive breakpoints. Framer gives you desktop, tablet, and phone layouts through Stacks. Check each one before you move on, because mobile is where hasty rebuilds break.
Work section by section rather than trying to perfect a whole page at once. Framer’s polished defaults mean each section looks good quickly, which keeps momentum up.
Halfway through your first rebuild you will feel the difference in your hands: edits that took ten minutes in Webflow take one in Framer. Grab a free Framer project and rebuild your busiest page today. That single page is the honest test of whether the rest of the migration is worth your weekend.
Step 4: Recreate your CMS collections and content
If your Webflow site has a blog or any dynamic content, set up the equivalent in Framer now. Create a collection, define the fields you need (title, slug, body, featured image, author, date, and so on), then bring your content in item by item.
One thing to plan for: Framer’s CMS collection limits by plan. From Framer’s live pricing page, the Basic plan includes 2 CMS collections and the Pro plan includes 10. For a normal marketing blog that is plenty, but if your Webflow site used many separate collections, count them against the plan you intend to buy before you start, so you do not get stuck mid-migration.
Pay special attention to your slugs. If you want to keep your blog URLs identical (the cleanest way to preserve SEO), make each Framer post’s slug match its old Webflow slug exactly. Where you cannot, you will handle it with a redirect in Step 6.
Step 5: Rebuild forms, integrations, and embeds
Go down the forms-and-integrations list from your audit and recreate each one in Framer.
- Rebuild each form on the matching page and reconnect it to the correct destination, then submit a real test entry and confirm it lands where it should.
- Re-add analytics (for example your Google Analytics or Search Console tag) so tracking is live from the moment you launch.
- Re-add any third-party embeds such as chat, booking, or scheduling widgets.
Do not assume a form works because it looks right. Every form gets one real test submission before launch. A silently broken contact form is the most expensive kind of migration bug because you do not notice it until a lead complains.
Step 6: Match your SEO metadata and set up redirects
This is the step that protects your rankings, so slow down here.
First, match your metadata. For every page, copy the title tag, meta description, and Open Graph image from your audit into the equivalent fields in Framer. Framer gives you SEO meta controls (title, description, OG image) plus alt text on images. Matching these tells Google the page is the same page it already ranks, just in a new home.
Second, handle URLs and redirects. You have two clean scenarios:
- Best case, keep every URL identical. If each new Framer page and blog slug matches its old Webflow URL exactly, Google barely notices the switch and your rankings are least disturbed. Aim for this wherever you can.
- When a URL has to change, set up a redirect so the old address forwards to the new one, which passes the ranking signal and stops visitors hitting a dead page. Framer’s Pro tier includes site redirects, which is the practical reason many people migrating a content site choose Pro. Map every changed old URL to its new destination from your audit list. Do not leave any top-traffic URL without a redirect.
The rule to remember: a URL that changes without a redirect is a broken link and a lost ranking. Your audit spreadsheet is exactly the checklist that stops that from happening.
Step 7: Test everything on staging before you point the domain
Do not switch your live domain yet. Framer’s Pro plan includes a staging environment and branching with previews, so you can put the whole rebuilt site through its paces on a preview URL first. Walk the site as a visitor would:
- Click every navigation link and button. Fix anything that dead-ends.
- Check every page on desktop, tablet, and phone.
- Submit every form and confirm delivery.
- Proofread. A rebuild is a fresh chance to catch old typos.
- Compare against your original page by page so nothing got dropped.
Fix everything you find now, while the old site is still the one your visitors see.
Step 8: Point your domain and go live
When staging is clean, make the switch. Connect your custom domain to Framer and update your DNS to point at Framer instead of Webflow. Framer supports custom domains, and the switch is where your domain fully transfers with no visible change to visitors.
Right after the switch:
- Confirm the live site loads on your real domain, not the
framer.websitesubdomain. - Spot-check your top pages one more time on the live URL.
- Submit your sitemap in Google Search Console so Google recrawls the new pages quickly.
- Keep your Webflow site paid and live for a short overlap window (a week or two) as a safety net, in case you need to reference the original for something you missed.
That is the full migration. Audit, build, rebuild content, redo forms, match SEO, test on staging, then point the domain.
Migration pitfalls that cost people traffic (and how to dodge them)
I have watched every one of these go wrong. Here is how to avoid them.
Broken internal links. When you rebuild, some of your internal links will point at old paths that no longer exist. After launch, crawl your own site or click through it and fix any link that leads to a dead page. Your navigation, footer, and in-body links are the usual culprits.
Missing redirects on changed URLs. The single most common cause of a post-migration traffic dip. If you had to change any URL, it needs a redirect, full stop. Use your audit list as the master checklist and confirm each changed URL forwards correctly.
A short-term SEO dip is normal, a lasting one is a mistake. Even a clean migration can see a small, temporary ranking wobble while Google recrawls and reindexes the new site. Do not panic and start changing things randomly. If you matched your metadata, kept or redirected your URLs, and resubmitted your sitemap, rankings typically recover within a few weeks. A dip that does not recover usually means a redirect or a meta tag was missed, so go back to your audit and find the gap.
Forgotten forms and integrations. Covered above, but it bears repeating because it is the bug people notice last. Test every form with a real submission.
Not compressing images during the move. A migration is a free opportunity to make the site faster. If you re-upload the same bloated 4 MB hero images, you carried a performance problem across for no reason. Right-size images as you go.
Cancelling Webflow too early. Keep the old site live for a short overlap. Cancelling the day you launch means that if you discover a missing page next week, your only reference is gone.
When you should NOT move from Webflow to Framer
An honest guide has to include this, because for some sites Webflow is genuinely the better home and switching would be a step backward.
Do not move if you run a large, deeply relational content site. Webflow’s CMS handles reference and multi-reference fields and complex relationships between hundreds or thousands of interlinked items better than most tools. A big directory, a marketplace, or a publication where posts link to authors, categories, and locations in intricate ways is exactly what Webflow is built for. Framer’s CMS is capable and improving fast, but if relational complexity at scale is your core need, count your collections and your relationships honestly before you commit.
Do not move mid-project on a hard deadline. A migration is a rebuild. If you are two days from a launch, ship on what you have and migrate calmly afterward.
Do not move purely to save a few dollars if your team has deep Webflow expertise. The cost of relearning and rebuilding can outweigh the saving. Switch for the design speed, the motion, or the editing workflow, not for a marginal price difference alone.
If none of those describe you, and you are here because you want to build and edit faster with better motion, you are exactly the person for whom this migration pays off.
Webflow vs Framer at a glance (for the switch)
A quick reference for the tradeoffs that actually matter when you are deciding to move.
| What you care about | Webflow | Framer |
|---|---|---|
| Speed to edit and ship | Slower, class-based | Faster, canvas-based |
| Design and motion | Powerful but manual | Beautiful motion, low effort |
| CMS at large relational scale | Winner | Strong for typical blogs |
| Learning curve | Steep, expect to study | Gentle, Figma-like |
| Pricing model | Split Site + Workspace plans | Per site, simpler |
| Redirects for migration | Yes | Yes, on Pro |
| Staging and previews | Yes | Yes, on Pro |
| Non-technical teammate editing | Riskier | Lower risk |
The pattern is consistent: Webflow wins on structural power and large relational content, Framer wins on speed, motion, simplicity, and editing workflow. Your migration makes sense when the right-hand column describes what you want more of.
Framer pricing for your migrated site
Since you are switching partly to control cost or complexity, here is what Framer actually charges, straight from its live pricing page (yearly billing), captured July 2026.
| Plan | Price | What you get |
|---|---|---|
| Free | $0 | 500 credits to try, free framer.website domain, 1 GB bandwidth, design pages |
| Basic | $10/mo | Free custom domain, 2 CMS collections, 50 GB bandwidth, use your own domain |
| Pro | $30/mo | 10 CMS collections, 100 GB bandwidth, site redirects, staging environment, branching with previews, A/B testing (add-on) |
| Enterprise | Custom | Custom limits, enterprise security, dedicated support |
For a migration, the plan that matters most is usually Pro, because it bundles the two features you lean on hardest during a move: site redirects (for the URLs you cannot keep identical) and a staging environment with branching and previews (for testing the whole rebuilt site before you point your domain). If your site is small, has few or no URL changes, and needs only one or two CMS collections, Basic can be enough. Framer prices per site, so unlike Webflow you are not stacking a site plan on top of a workspace seat.
Always open the live pricing page before you buy, because tiers and numbers change, and the only price that matters is the one for your exact setup.
How long does a Webflow to Framer migration take?
Honest ranges from real projects, assuming your content is already written (which it is, since you have a live site):
- A small marketing site or portfolio (5 to 10 static pages, no big blog): a focused weekend, sometimes a single long day if you start from a close template.
- A typical business site with a modest blog (10 to 25 pages plus a few dozen posts): a few days to a week, with most of the time going to re-entering CMS content and testing.
- A larger content site (many pages, a big blog, several collections, lots of URLs to redirect): a couple of weeks, and this is the size where you should seriously double-check whether Webflow’s CMS strength means you should stay.
The build itself is fast in Framer. What takes the time is the careful, unglamorous work: re-entering content, matching metadata, and setting up redirects. Rush the build and you save an hour. Rush the redirects and you lose a month of rankings. Spend your care where it counts.
Frequently asked questions
Can I import my Webflow site directly into Framer? No. There is no one-click importer between the two. You rebuild the site in Framer, which is faster than it sounds because Framer’s canvas is quick and all your content is already written. Think of it as reassembling a finished website in a faster tool, not building from zero.
Will I lose my Google rankings when I switch? Not if you migrate carefully. Keep your URLs identical where possible, set up redirects for any that change, and copy your title tags, meta descriptions, and Open Graph images exactly. Do that, resubmit your sitemap, and rankings typically recover from any brief dip within a few weeks. Rankings are lost when redirects or metadata are skipped, not by the act of switching itself.
Does my blog content transfer automatically? The content moves, but not automatically. You recreate your collections in Framer and bring the posts in item by item, or paste them. Match each post’s slug to its old URL to keep its SEO. Remember Framer’s CMS collection limits: 2 on Basic, 10 on Pro.
What about my custom domain? Your domain transfers fully. When you are ready to launch, you point the same domain at Framer by updating your DNS. Visitors see no change; the site just loads from Framer now.
Do my Webflow forms and interactions carry over? No. Forms, animations, and integrations are rebuilt in Framer. Motion is usually faster to recreate with Framer’s built-in effects than it was to set up in Webflow’s Interactions panel. Test every form with a real submission before launch.
How much does Framer cost compared to Webflow? Framer prices per site: Free, Basic at $10/mo, Pro at $30/mo (yearly billing), captured July 2026. Webflow splits Site and Workspace plans, which often means paying for both. For a single custom-domain site, Framer is usually simpler and often cheaper.
Should I cancel Webflow the day I launch on Framer? No. Keep the old site live for a week or two as a reference and safety net, in case you find a page or asset you missed. Cancel once you are confident the Framer site is complete and stable.
Is it worth moving for design reasons alone? For many people, yes. If you switch for Framer’s speed of editing and its effortless motion, that is a legitimate and common reason. Just do the SEO handoff (redirects and metadata) properly so you keep your traffic while you gain the design freedom.
The bottom line
Moving from Webflow to Framer is not an import, it is a rebuild, and once you accept that, the whole thing gets easier. Your content is already written, your design decisions are already made, and Framer’s fast canvas means recreating the site takes far less time than the original build did. The part that demands real discipline is not the design, it is the SEO handoff: audit your pages, match your metadata, keep or redirect every URL, and test on staging before you point your domain. Get that right and you switch tools without losing the traffic you earned.
For most people leaving Webflow, the reward is a site that is faster to edit, richer in motion, and simpler to pay for. If you run a huge relational content operation, stay and read the “when NOT to move” section again. Everyone else: the switch is very doable in a weekend, and you can prove it to yourself before you commit a cent.
The fastest way to know if this migration is for you is to rebuild one page and feel the difference. Create your free Framer site now, rebuild your homepage from your existing copy, and publish it to a preview URL today. If it feels this fast on page one, the rest of the move is just repetition, and your rankings come with you.
Pricing, plan names, CMS limits, redirect and staging features cited from Framer’s live pricing page, captured July 2026. Tiers and numbers change over time, so confirm the current details on framer.com/pricing before you migrate.


